Almond Flour Cookies
These cookies are gluten-free, vegan, dairy-free, refined-sugar free, grain-free, low-carb, high in fibre, and made with healthy fats✨
Recipe Below 👇
My Mom’s Tried-and-True Almond Flour Cookies! 🍪
These almond flour cookies have been a fam fave for a while now. My mom is always experimenting in the kitchen, adding in new ingredients and flavours, and I finally put her classic recipe into a more formal one. The best part? These cookies are packed with quality ingredients that not only satisfy your sweet tooth but also make for a more balanced, nourishing snack.
I’ve always believed that when it comes to cooking, quality matters. The better the ingredients, the better the taste, and, more importantly, the better the impact on your body. For me, it’s always been about choosing ingredients that support overall wellness without hindering the flavour. Let’s talk about some of the key ingredients that make this recipe special and why opting for the best quality can make all the difference.
Grass-Fed Butter vs. Conventional Butter: Why It Matters
If you’ve ever wondered whether butter really makes a difference in baking, the answer is yes, and it’s not just about taste. Grass-fed butter (as opposed to conventional butter) is made from cows that are fed a natural, grass-based diet. This leads to butter that is richer in healthy fats, especially Omega-3s and conjugated linoleic acid (CLA), which are known for their anti-inflammatory and heart-healthy benefits. Grass-fed butter also tends to have a deeper, more complex flavour profile, making it perfect for cookies that require that rich, buttery taste.
Conventional butter, on the other hand, often comes from cows fed a grain-based diet (and typically using crops treated with pesticides), which means it can have fewer of the beneficial fats and more inflammatory omega-6 fatty acids. While conventional butter still works for baking, swapping it for grass-fed butter is a simple choice that supports a healthier, more sustainable option.
Why Coconut Oil is a Great Swap
Now, let’s talk about coconut oil. Many cookie recipes call for butter, but I love the option of using coconut oil in this recipe, and here’s why:
Healthy Fats: Coconut oil is rich in medium-chain triglycerides (MCTs), a type of fat that the body can quickly convert into energy. These fats can provide a quick energy boost and are more likely to be used by the body rather than stored as fat. It’s also great for supporting metabolism and immune health.
Dairy-Free & Vegan-Friendly: For those avoiding dairy, coconut oil is a fantastic butter alternative. It allows for the same texture and moisture while still maintaining a cookie that’s tender, chewy, and full of flavour.
Why Quality Ingredients Matter More Than You Think
We all know that a cookie can be an indulgent treat, but when we focus on quality ingredients, it transforms into something that nourishes your body while satisfying your cravings. The fats in grass-fed butter and coconut oil offer unique health benefits, while the protein and healthy fats in almond flour keep you full and energized. Plus, coconut sugar offers a more balanced sweetness compared to refined sugar, helping you avoid those typical sugar crashes.
By making mindful ingredient swaps, you’re not just making a better cookie—you’re making a better choice for your health. I hope this gives you a deeper understanding of how ingredients can contributes to the final product, both in terms of flavour and nourishment.
Making a Chia Egg: The Vegan Option
For those following a vegan or egg-free diet, making a chia egg is an easy substitute. It’s a simple swap for binding ingredients together in baking, and it works especially well in recipes like these almond flour cookies. Here’s how to make one:
Ingredients: You’ll need 1 tablespoon of chia seeds and 2 tablespoons of water.
Preparation: Mix the chia seeds and water in a small bowl. Let the mixture sit for about 5-10 minutes. During this time, the chia seeds will absorb the water and form a gel-like consistency, mimicking the binding properties of an egg.
Substitution: Once it’s formed into a gel, you can use it in place of one egg in the recipe. It's that simple! Plus, chia seeds are packed with fiber, omega-3 fatty acids, and antioxidants, making them a nutritious addition to your cookies.
If you prefer flaxseed, you can make a flax egg with a similar ratio—1 tablespoon ground flaxseed to 2 tablespoons water. Both chia and flax eggs are excellent choices for plant-based or allergy-friendly baking.
Other Tips and Details to Enhance Your Cookie Experience
Room Temperature Ingredients: Whenever possible, use room temperature ingredients like your egg (or chia egg) and coconut oil. Cold ingredients can make the dough too stiff, and the cookies may bake unevenly. Allowing the butter or oil to soften ensures they’ll blend more easily into the dry ingredients, creating a smooth, consistent dough.
Blanched Almond Flour: Blanched almond flour (made from peeled almonds) is finer and has a smoother texture compared to regular almond meal, which can be a bit grainy. This gives your cookies a lighter, more delicate crumb. Make sure you’re using blanched almond flour for the best results in texture and taste.
Dark Chocolate: I always go for 70% or higher dark chocolate—the richer the cocoa, the more antioxidants it packs! Plus, dark chocolate has less sugar than milk chocolate, making it the perfect match for these cookies. You can mix in chocolate chips, chunks, or even cacao nibs for variety. I also love to use whatever chocolate bars I have on hand, or even JoJo’s Chocolate for a fun twist!
Add-Ins: Don’t be afraid to get creative with your add-ins. While this recipe is fantastic as-is, you can switch up the nuts or even add dried fruit like cranberries or cherries for an extra burst of sweetness. This recipe is super versatile and lends itself well to fun experimentation!
Storage: These cookies store well in an airtight container at room temperature for up to a week, but they’re also freezer-friendly. Roll the dough into balls and freeze them on a baking sheet before transferring them to a container. This way, you can bake up a fresh batch whenever the craving hits—perfect for when you’re entertaining or need a quick sweet snack.
Now onto the recipe!!
Ingredients:
1/3 cup coconut oil (or sub with GF butter)
1/4 cup + 1 tbsp coconut sugar
1 egg (room temperature) or a chia egg (for a vegan option)
1 teaspoon vanilla extract
1/2 teaspoon sea salt
1/2 teaspoon baking soda
1.5 cups blanched almond flour
1/2 cup dark chocolate (or more if you like it extra chocolatey— I love adding a mix of chunks, chips, or cacao nibs; for the highest nutrient value, opt for 70% cocoa or higher)
1/2 cup chopped nuts of choice (my faves are hazelnuts, walnuts, or pecans)
1/4 cup coconut flakes
I love to top mine with extra shavings of chocolate and a flakey sea salt!
Instructions:
Preheat your oven to 350°F (175°C). Make sure your baking sheet is lined with parchment paper for easy cleanup and to prevent the cookies from sticking.
In a large bowl, combine the coconut oil (or butter) and coconut sugar. Stir them together until they’re smooth and fully mixed. The coconut oil gives the cookies a subtle flavour, while the coconut sugar adds a rich, caramel-like sweetness.
Add in the egg (or chia egg if you're going for a vegan version) and vanilla extract. Mix until well combined. The egg (or chia egg) helps bind everything together while giving the cookies that classic chewy texture we all love.
Stir in the sea salt, baking soda, and almond flour. The almond flour is going to give your cookies that perfect, slightly dense, nutty flavour. Stir until the dough is thick and cohesive.
Fold in the chocolate chunks, coconut flakes, and chopped nuts. The combination of chocolate, coconut, and nuts is what makes these cookies so special. You get little bursts of sweetness from the chocolate and a satisfying crunch from the nuts.
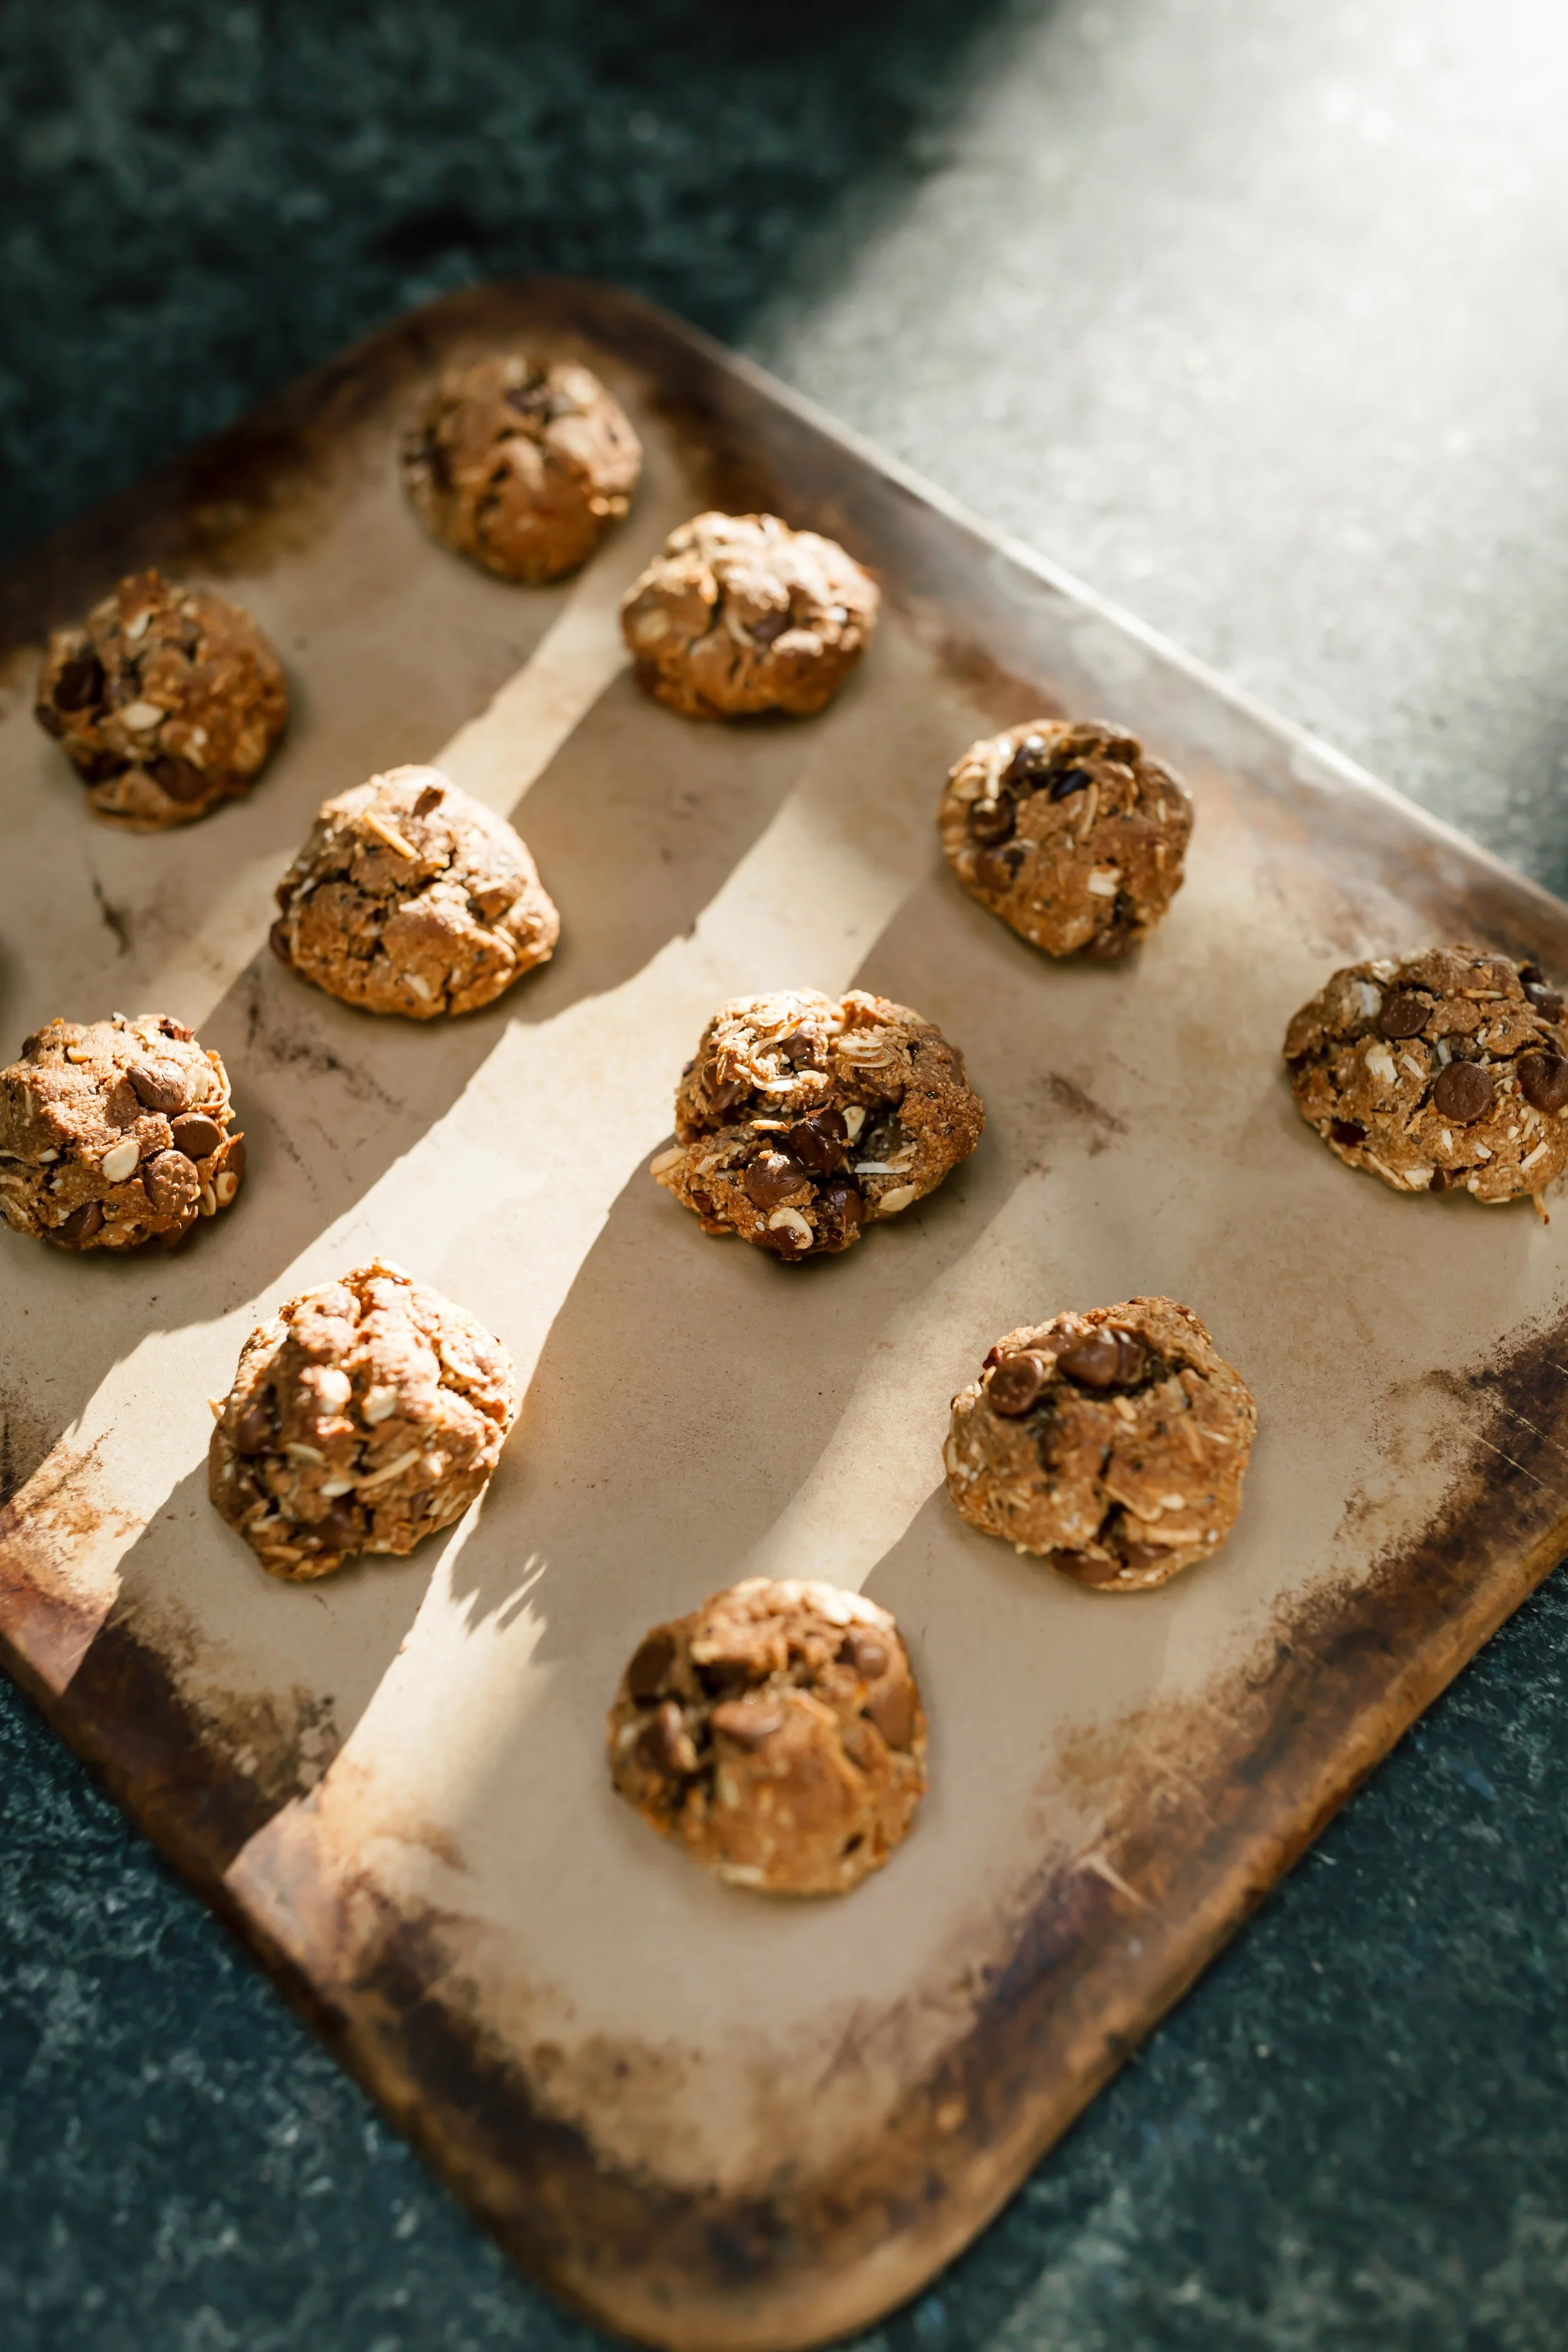
Form the dough into balls, about a tablespoon each. Place them evenly on the prepared baking sheet. Don’t worry if they look a little thick—they’ll spread just the right amount as they bake.
Bake for 9-12 minutes, or until the cookies have spread out and the edges are golden brown. Keep an eye on them toward the end, as the baking time can vary slightly depending on your oven.
Let them cool: Here’s the trick my mom always swears by—let the cookies sit on the pan for 10-15 minutes before transferring them to a cooling rack. This is crucial! The cookies will firm up as they cool on the pan and will be much easier to handle once they’ve set.
Tips for the Best Cookies:
Room temperature eggs: For extra fluffiness, make sure your egg is at room temperature before mixing it into the dough. Cold eggs can make the dough too dense, so bring them to room temp for the best results.
For crispier cookies, simply bake them a minute or two longer. Keep an eye on the edges—they’ll become slightly darker when they’re done.
Let them cool completely on the pan before moving them to the rack. This is important because the cookies continue to cook and firm up during this resting period, giving them the perfect texture.
Experiment with your mix-ins: This recipe is a fantastic base, but feel free to get playful with it! Add in more coconut flakes, oats, nuts, or even extra cacao nibs if you’re craving an extra chocolatey treat. I’ve even tried adding dried fruit for a little sweetness.
Freezer-friendly prep: One of my favourite things about this recipe is how easy it is to prep ahead of time. Simply roll the dough into balls and store them in a freezer-friendly container. When you’re craving a quick treat, just pop out the amount you want and bake them fresh. It’s a total game-changer, especially when you have unexpected guests or a sweet craving!
Let me know how your cookies turn out, or if you’ve tried any fun ingredient swaps of your own! 😊🍪
Enjoy!
Much love,
Ashley Lougheed
Your Holistic Nutritionist